localizeflow-docs
Localizeflow – Quick Start Guide
Supported by Localizeflow
Arabic | Bengali | Bulgarian | Burmese (Myanmar) | Chinese (Simplified) | Chinese (Traditional, Hong Kong) | Chinese (Traditional, Macau) | Chinese (Traditional, Taiwan) | Croatian | Czech | Danish | Dutch | Estonian | Finnish | French | German | Greek | Hebrew | Hindi | Hungarian | Indonesian | Italian | Japanese | Korean | Lithuanian | Malay | Marathi | Nepali | Nigerian Pidgin | Norwegian | Persian (Farsi) | Polish | Portuguese (Brazil) | Portuguese (Portugal) | Punjabi (Gurmukhi) | Romanian | Russian | Serbian (Cyrillic) | Slovak | Slovenian | Spanish | Swahili | Swedish | Tagalog (Filipino) | Tamil | Thai | Turkish | Ukrainian | Urdu | Vietnamese
Localizeflow automatically translates your documentation and opens pull requests whenever the source file changes.
This guide shows you how to install the GitHub App and run your first translation in under 2 minutes.
[!NOTE]
Localizeflow currently supports GitHub-based documentation projects (for example: AI for Beginners and most standard open-source repos).
Support for modern documentation frameworks such as Astro, Docusaurus, and Hugo
is in active development.
Sign in and install the GitHub App
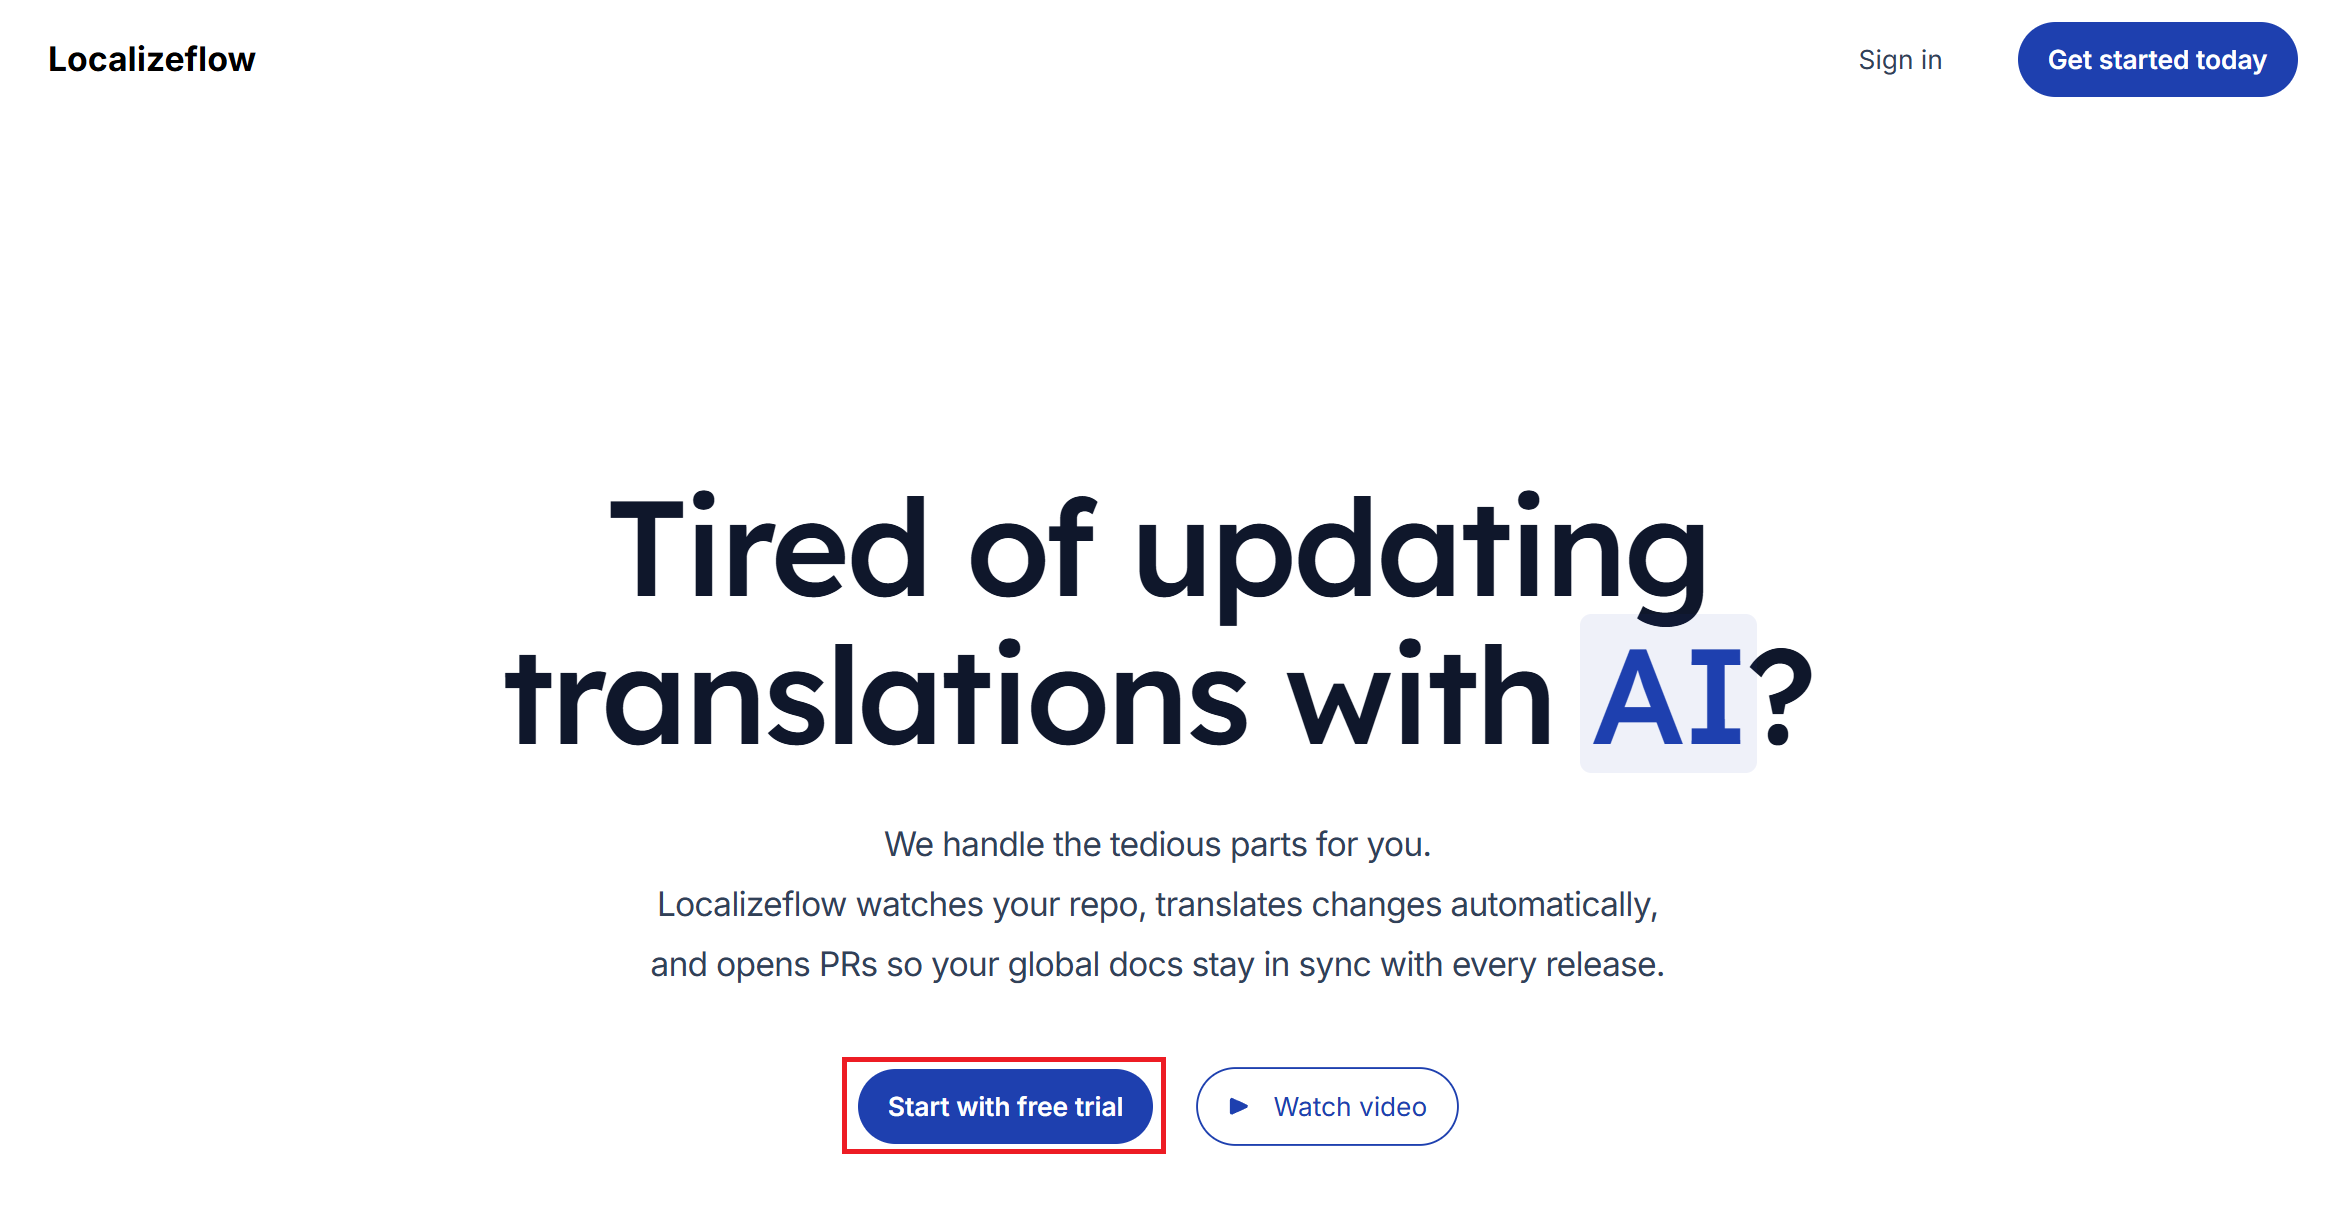
- Visit localizeflow.com.
- Select Start with free trial.
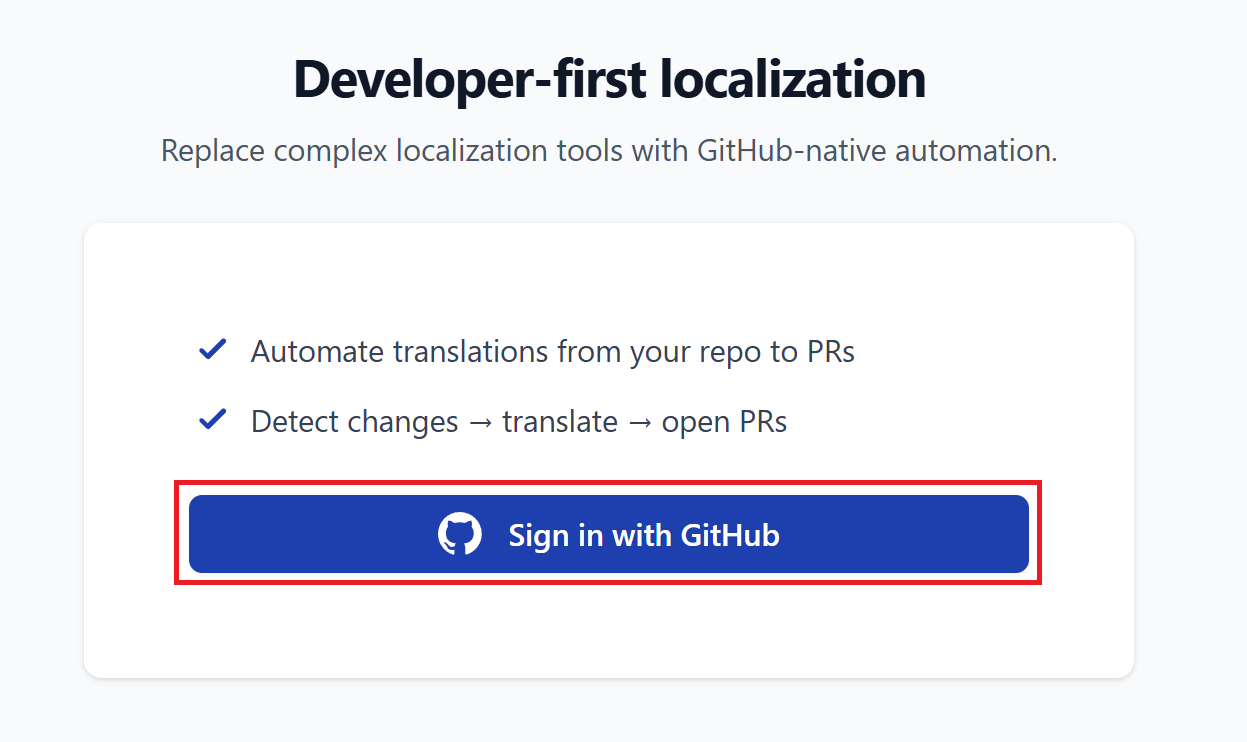
- Select Sign in with GitHub.
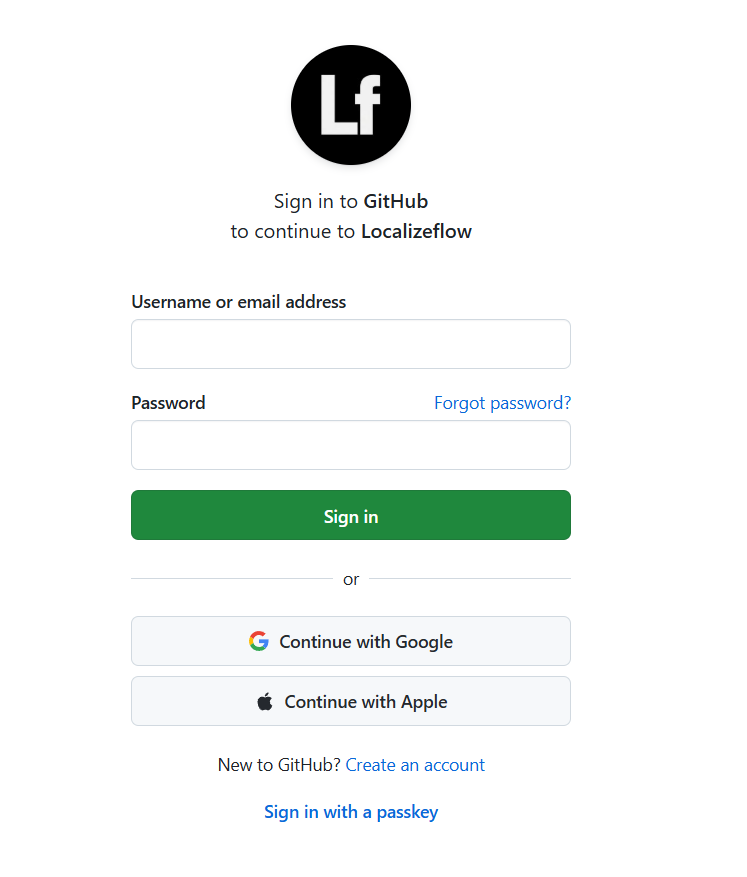
- Sign in with your GitHub account.
- Choose the account where you want to install the Localizeflow GitHub App — your personal account or an organization you manage.

- Select the repositories you want Localizeflow to access, then choose Save.
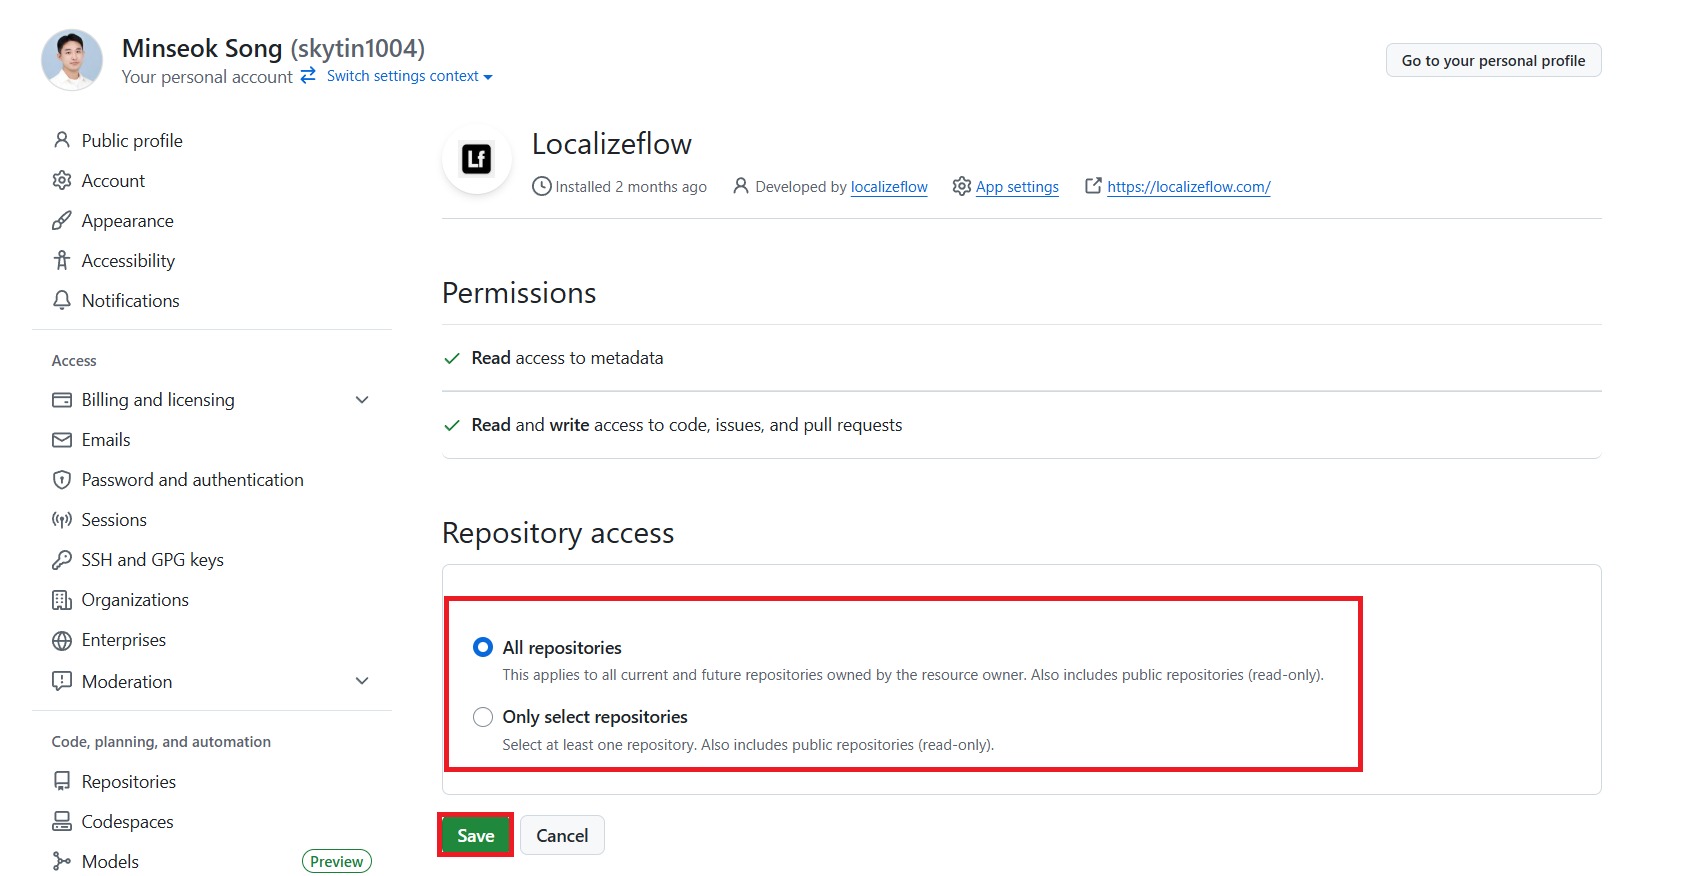
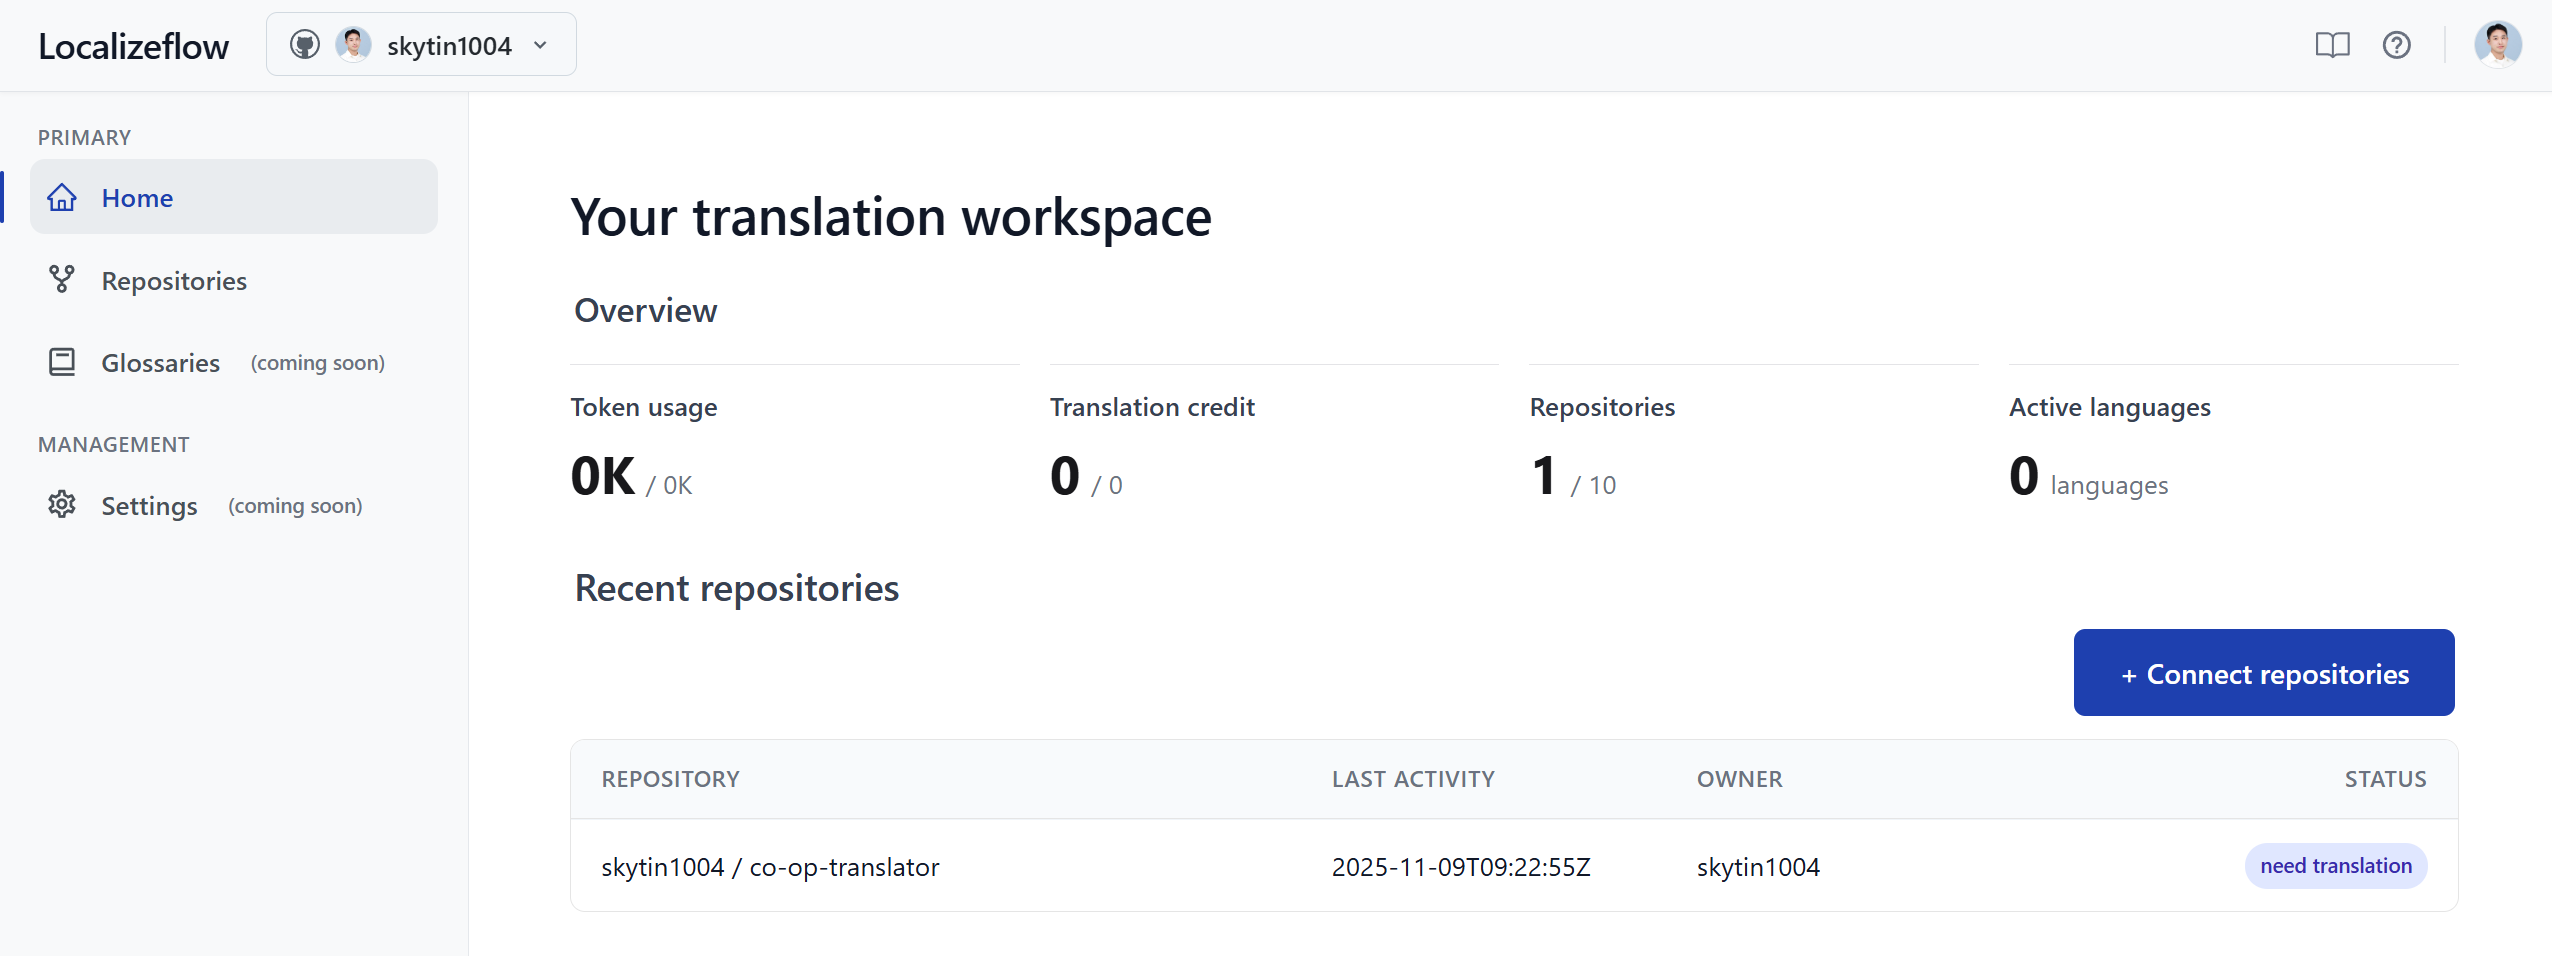
- You will be redirected to the Localizeflow home page.
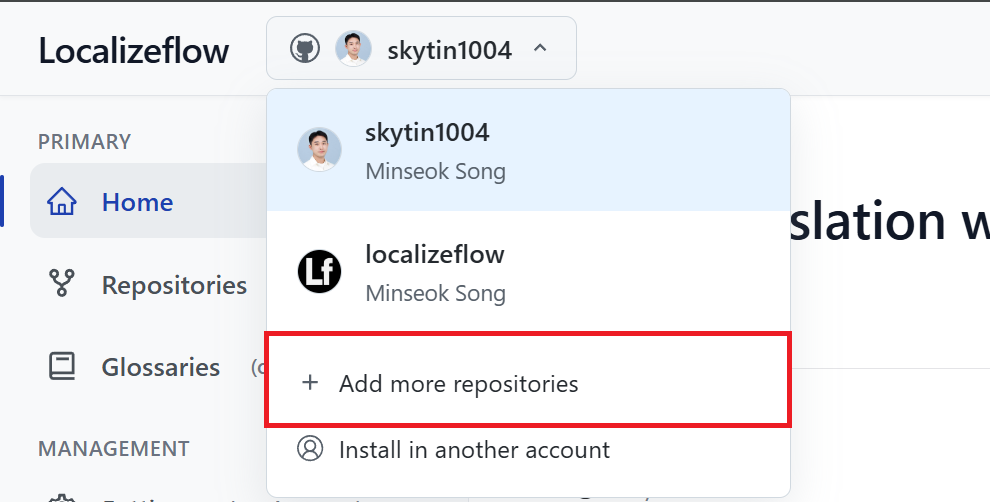
[!TIP] To add more repositories later, select your account in the header and choose + Add more repositories.
Connect your repositories to Localizeflow
-
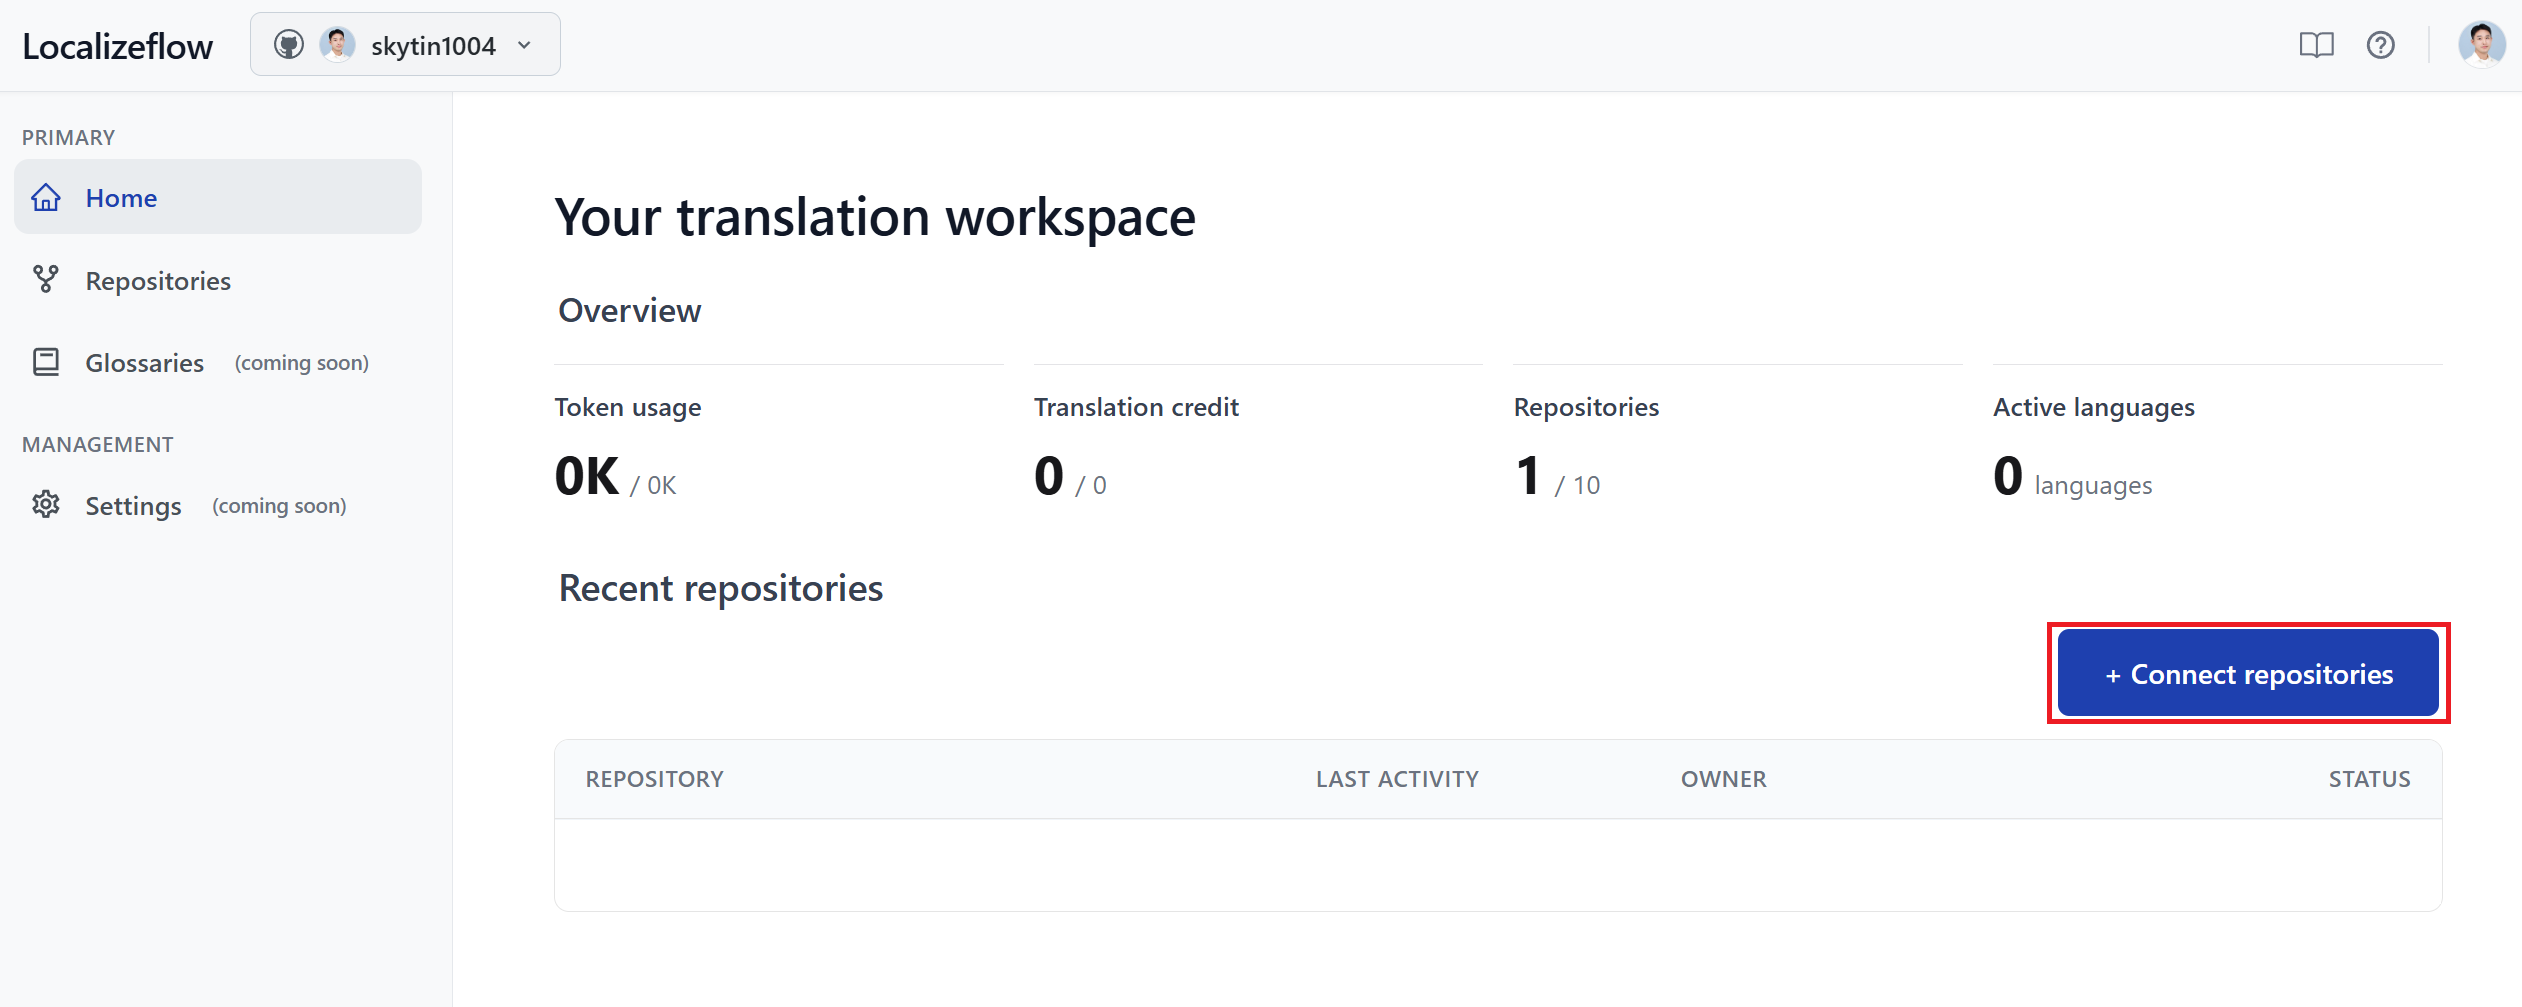
On the Localizeflow home page, select + Connect repositories.
-
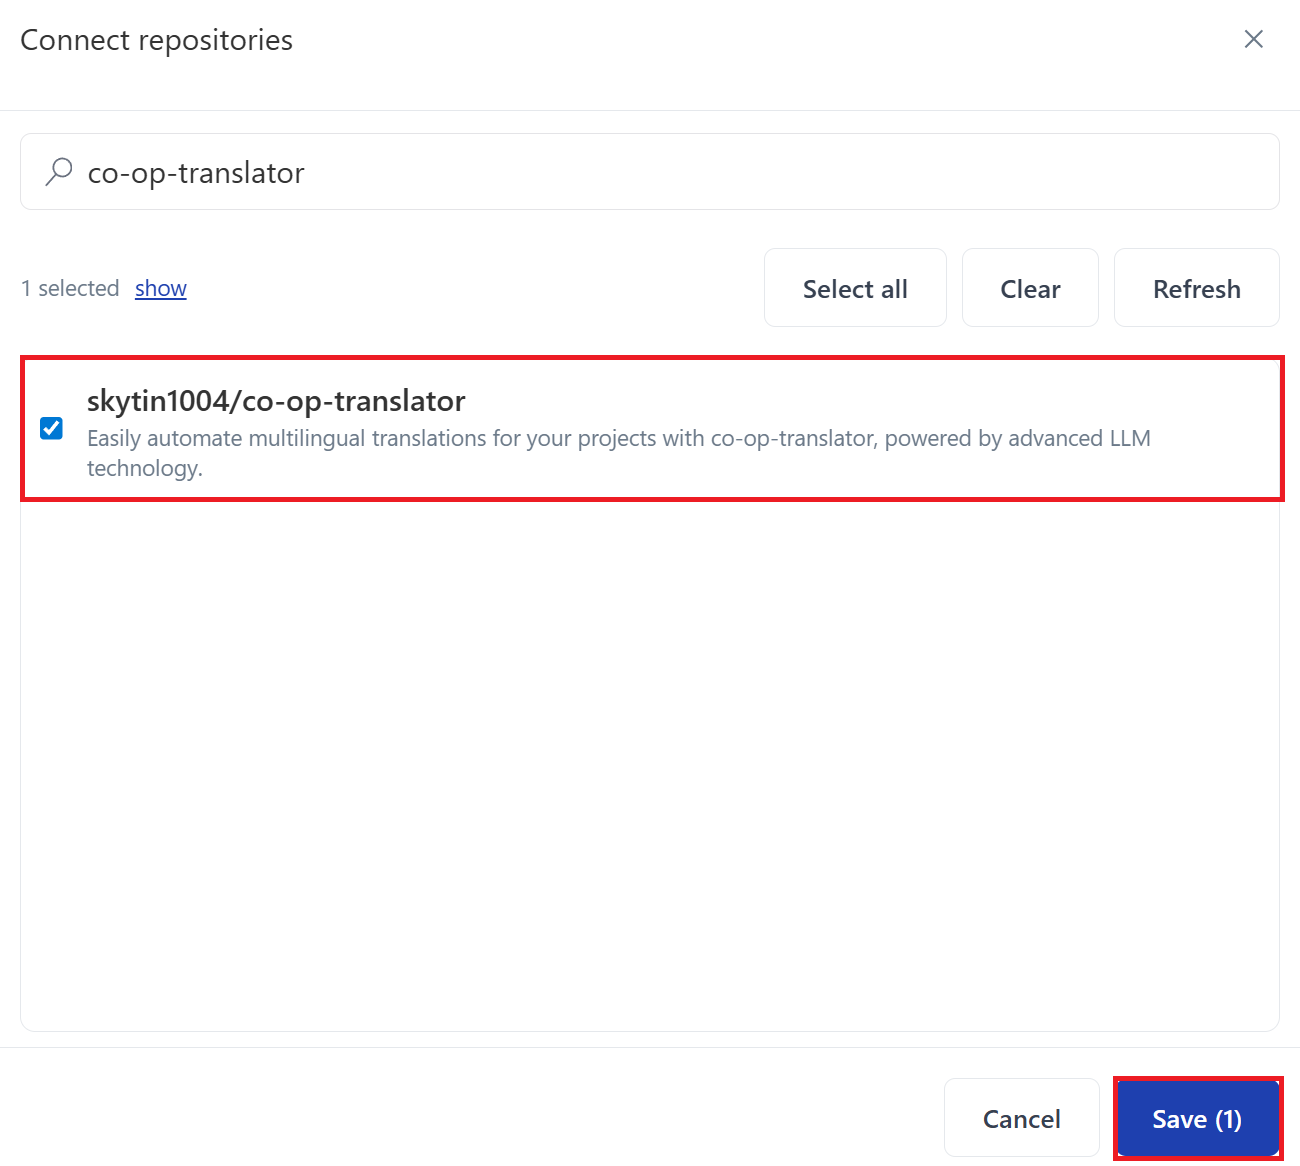
Choose one of the installed repositories you want to connect and select Save.
-
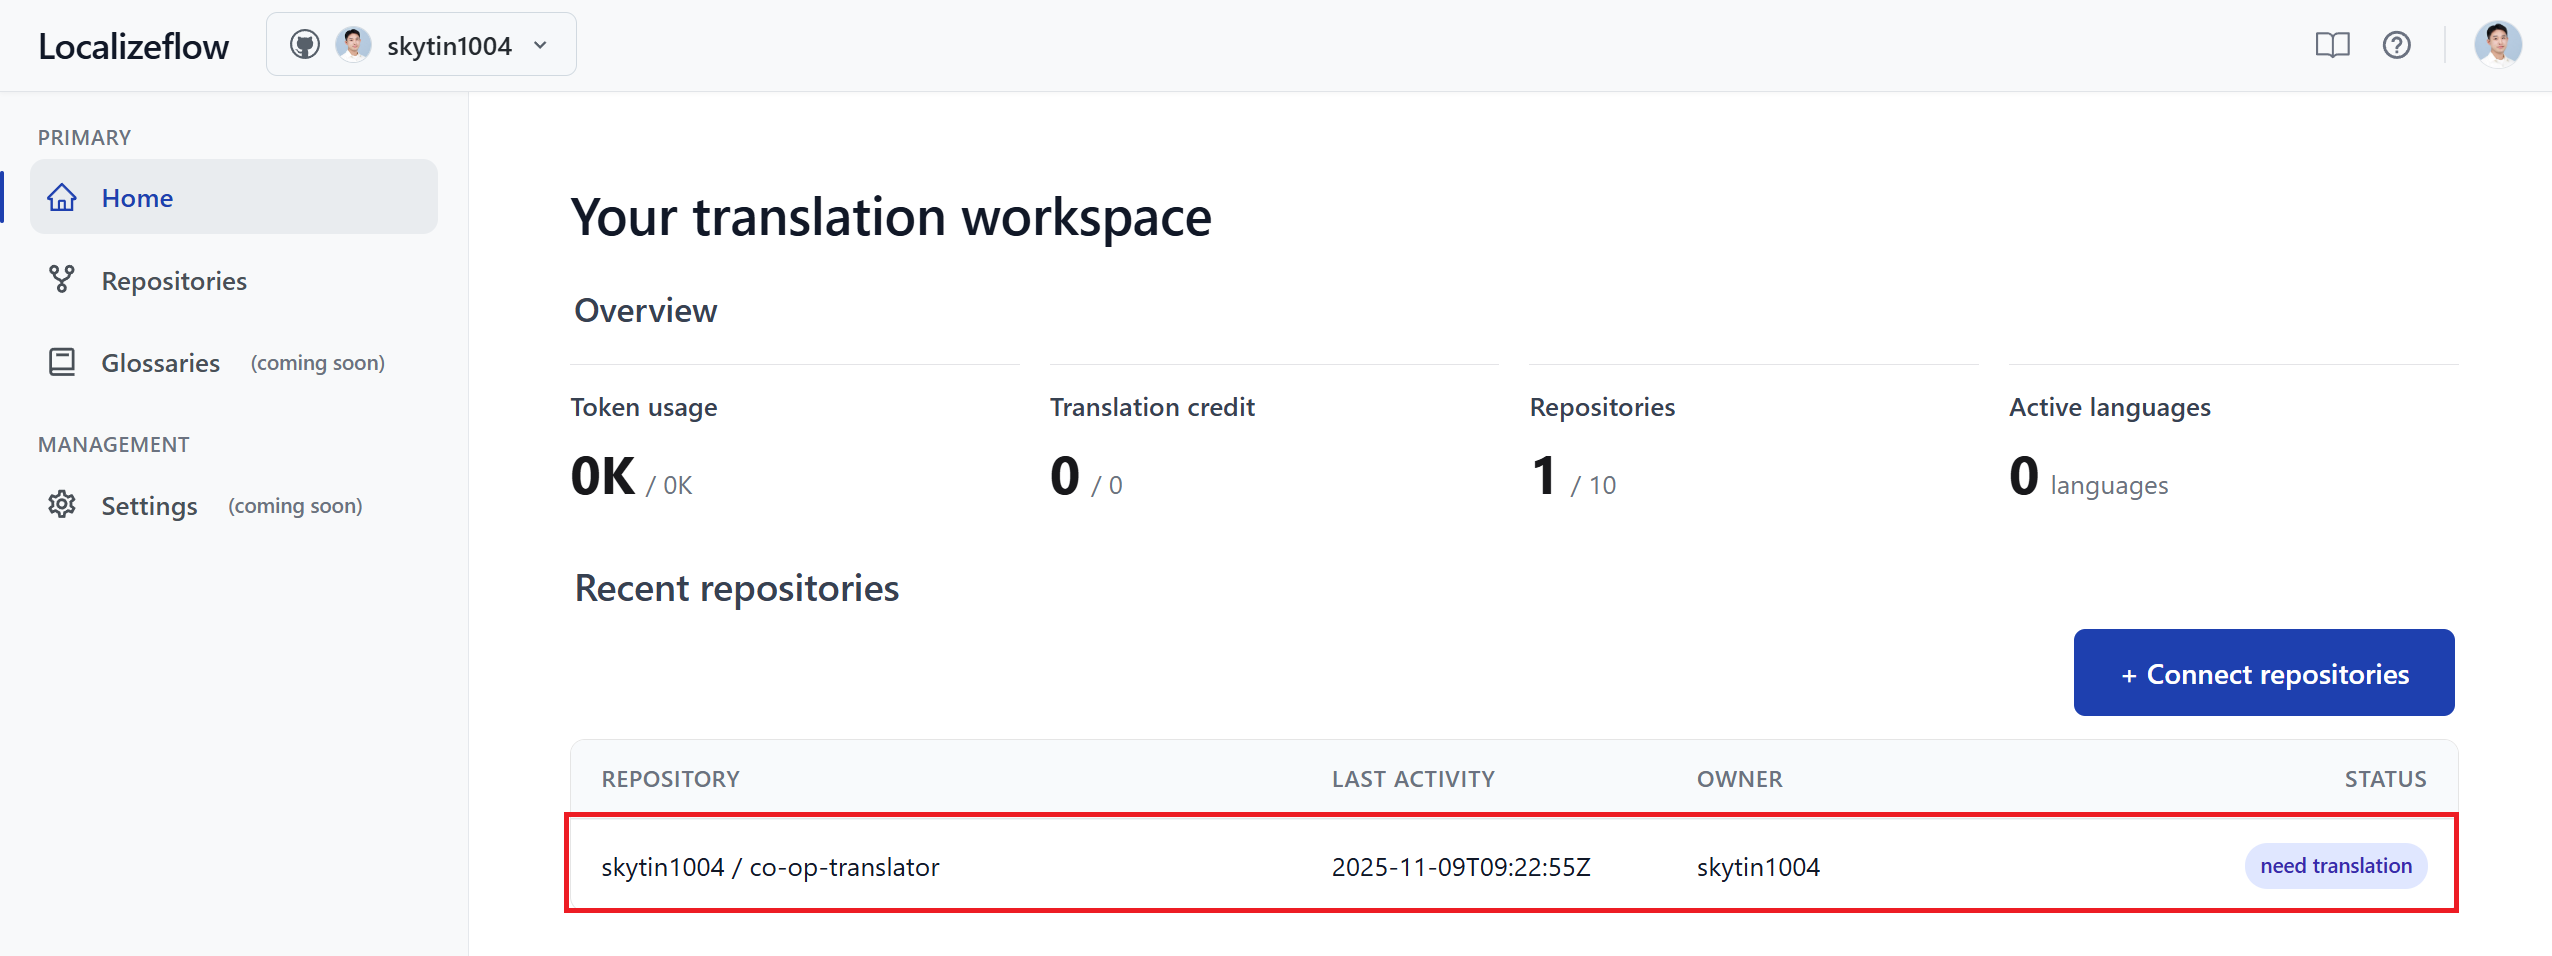
Your connected repositories will now appear on both the Home page and the Repositories page.
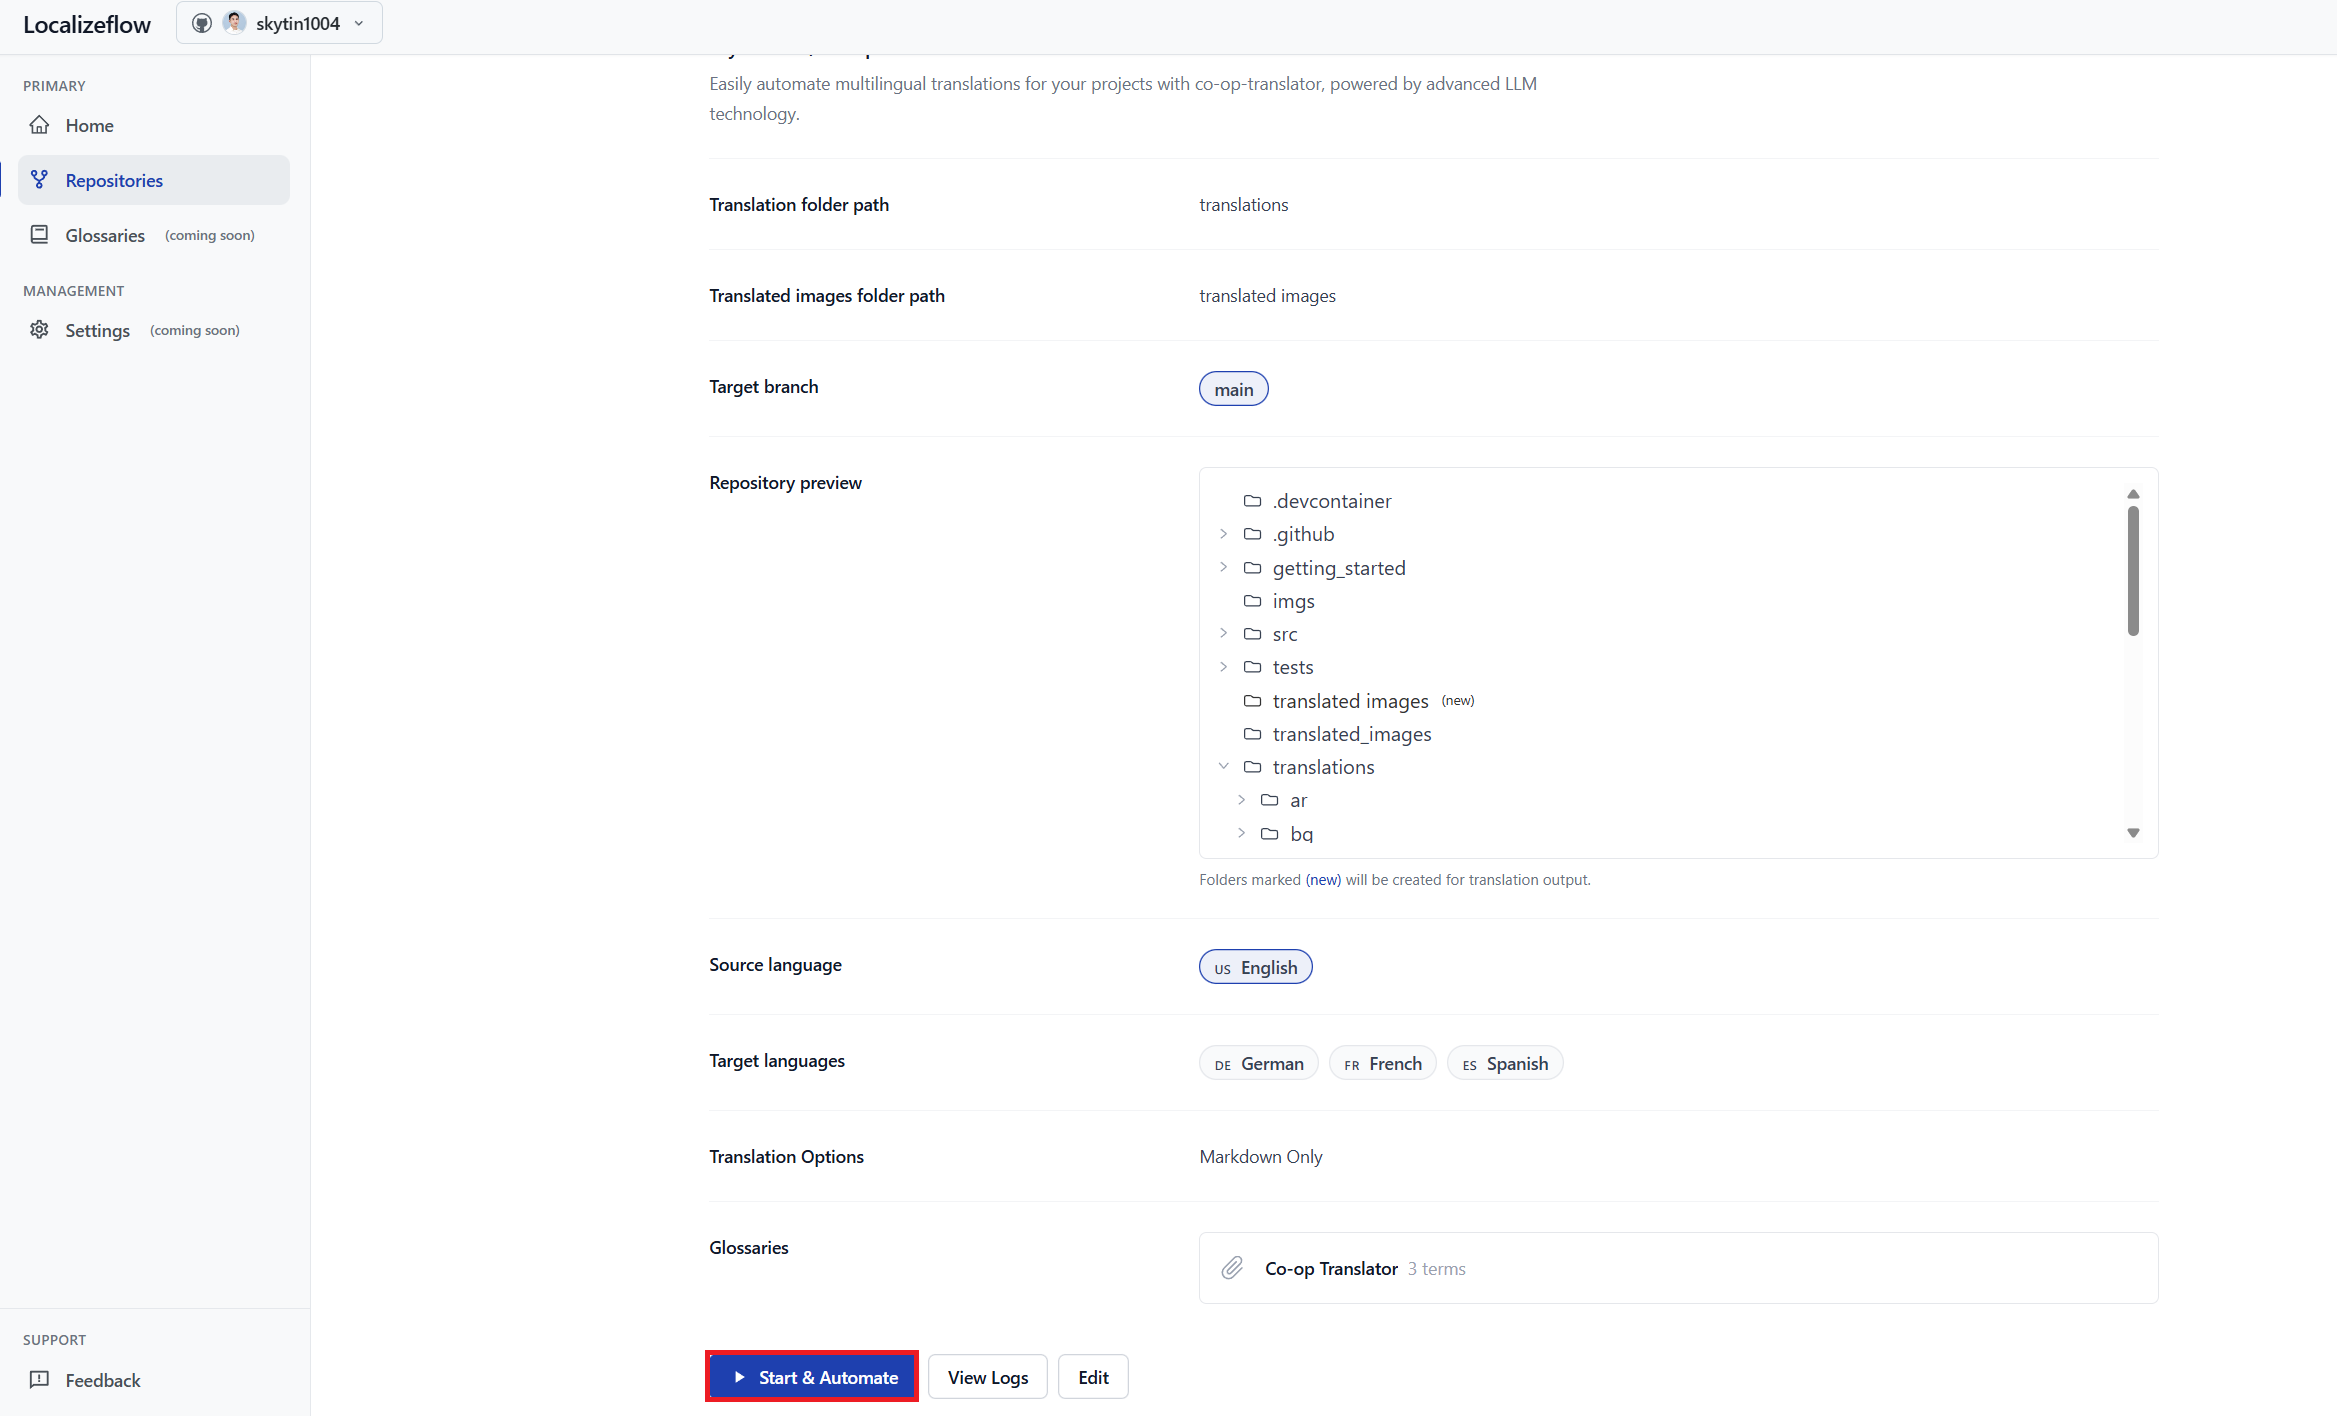
Start automatic translation
-
Select the repository you just connected.
-
On the repository detail page, select Edit at the bottom.
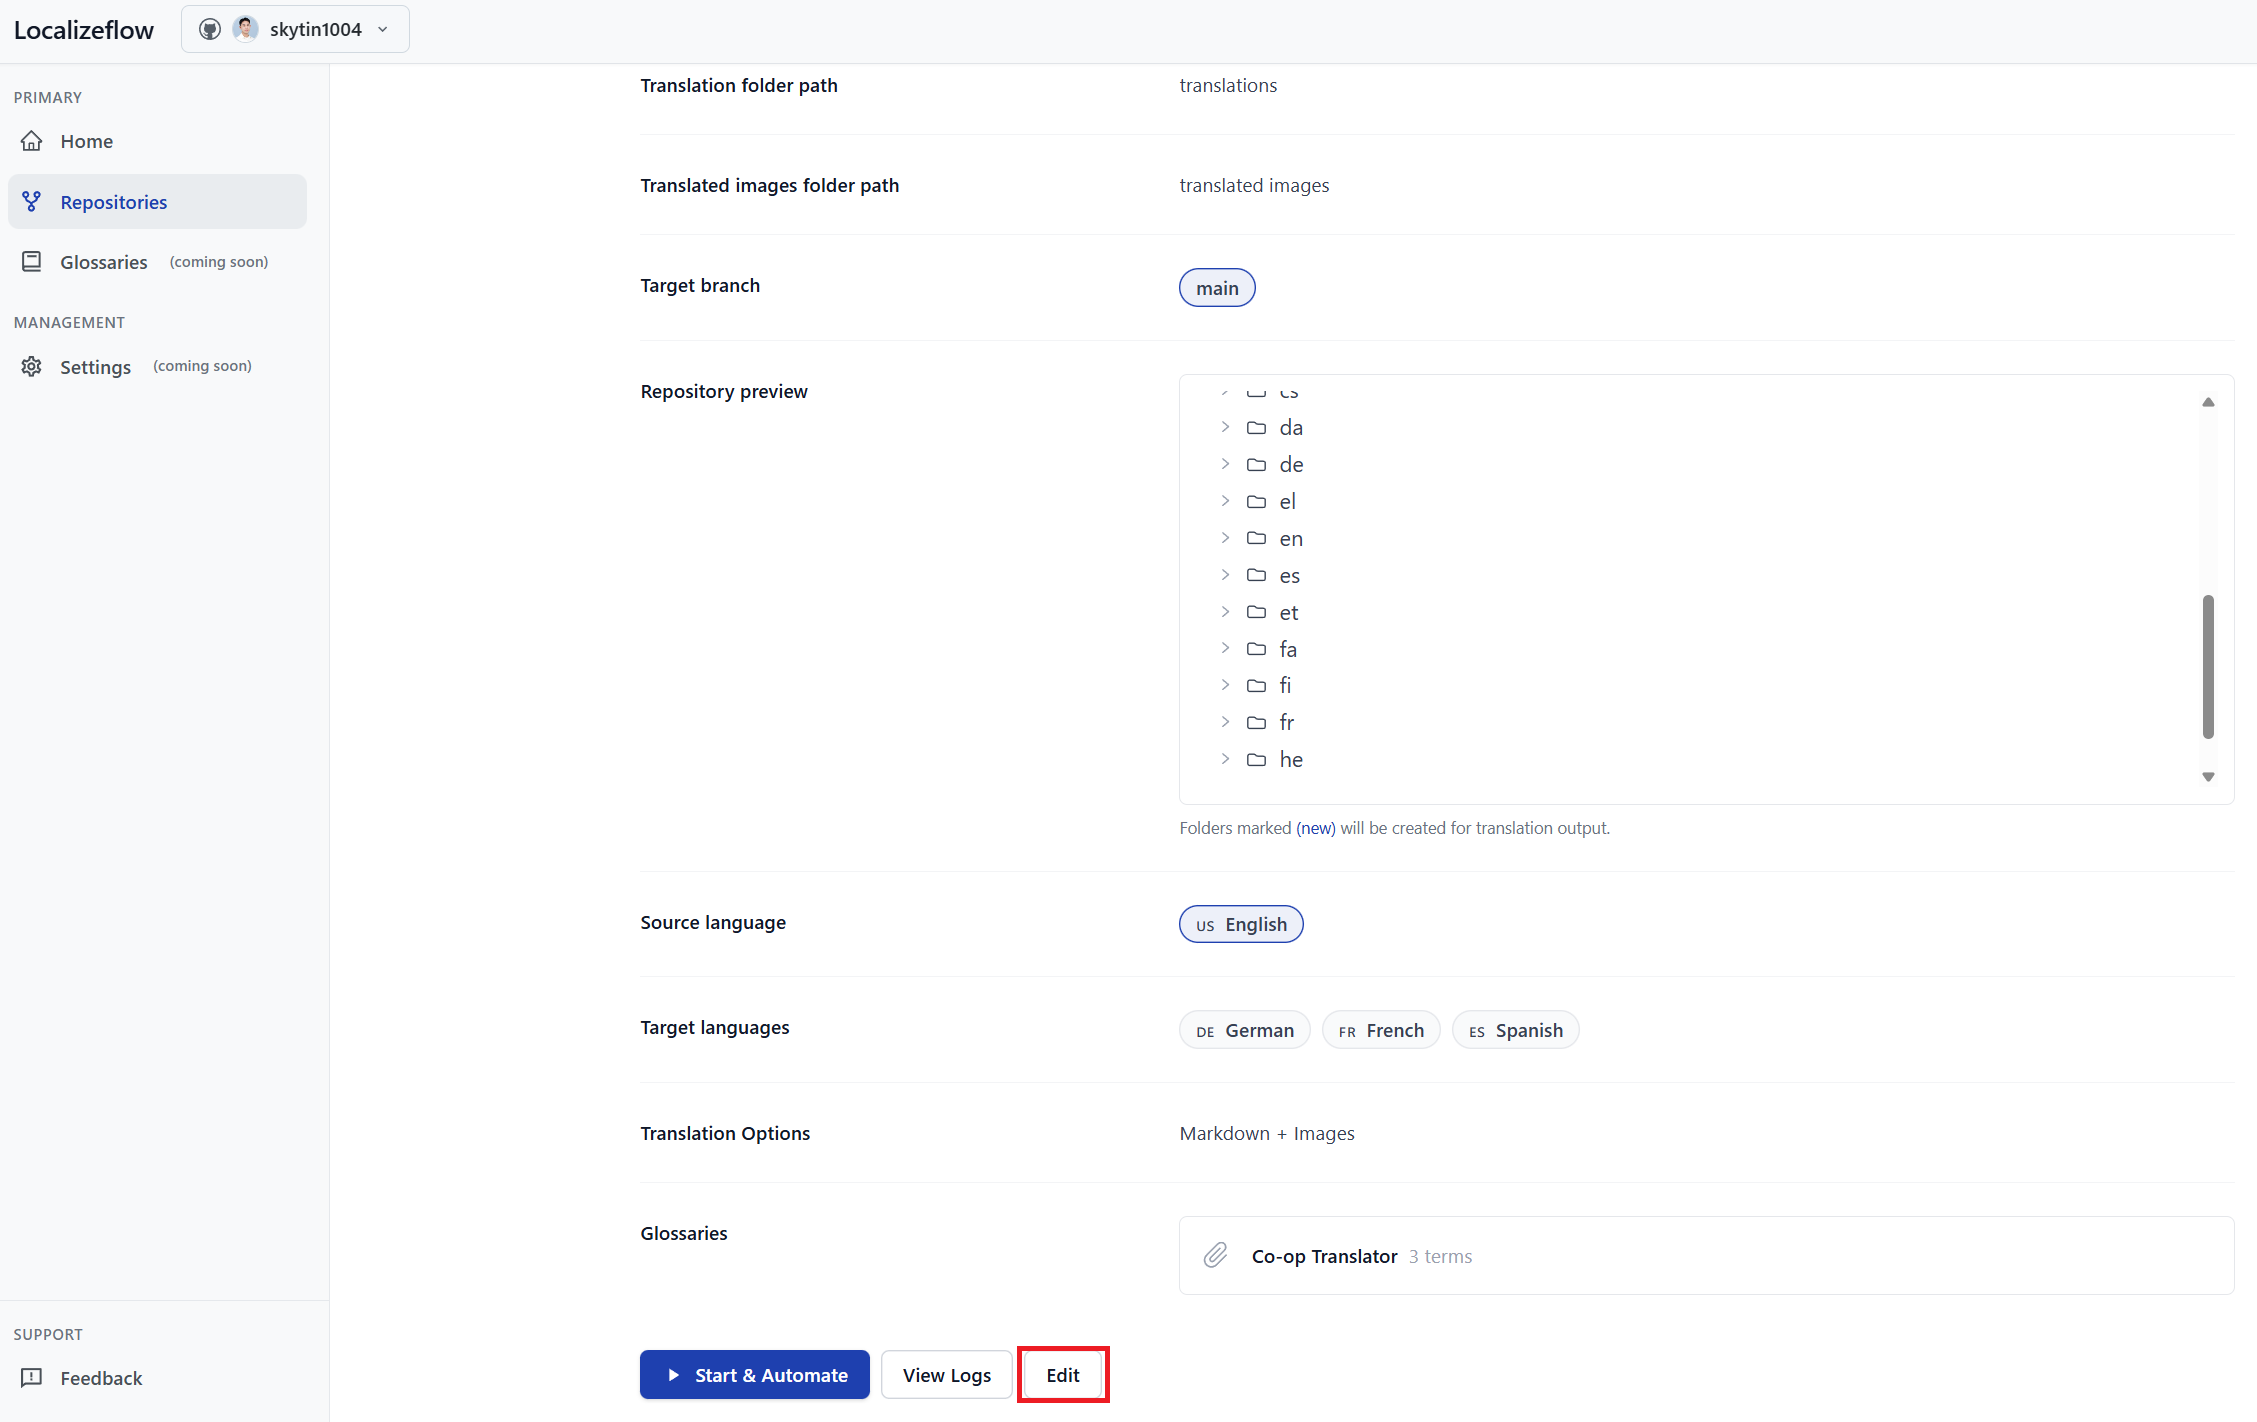
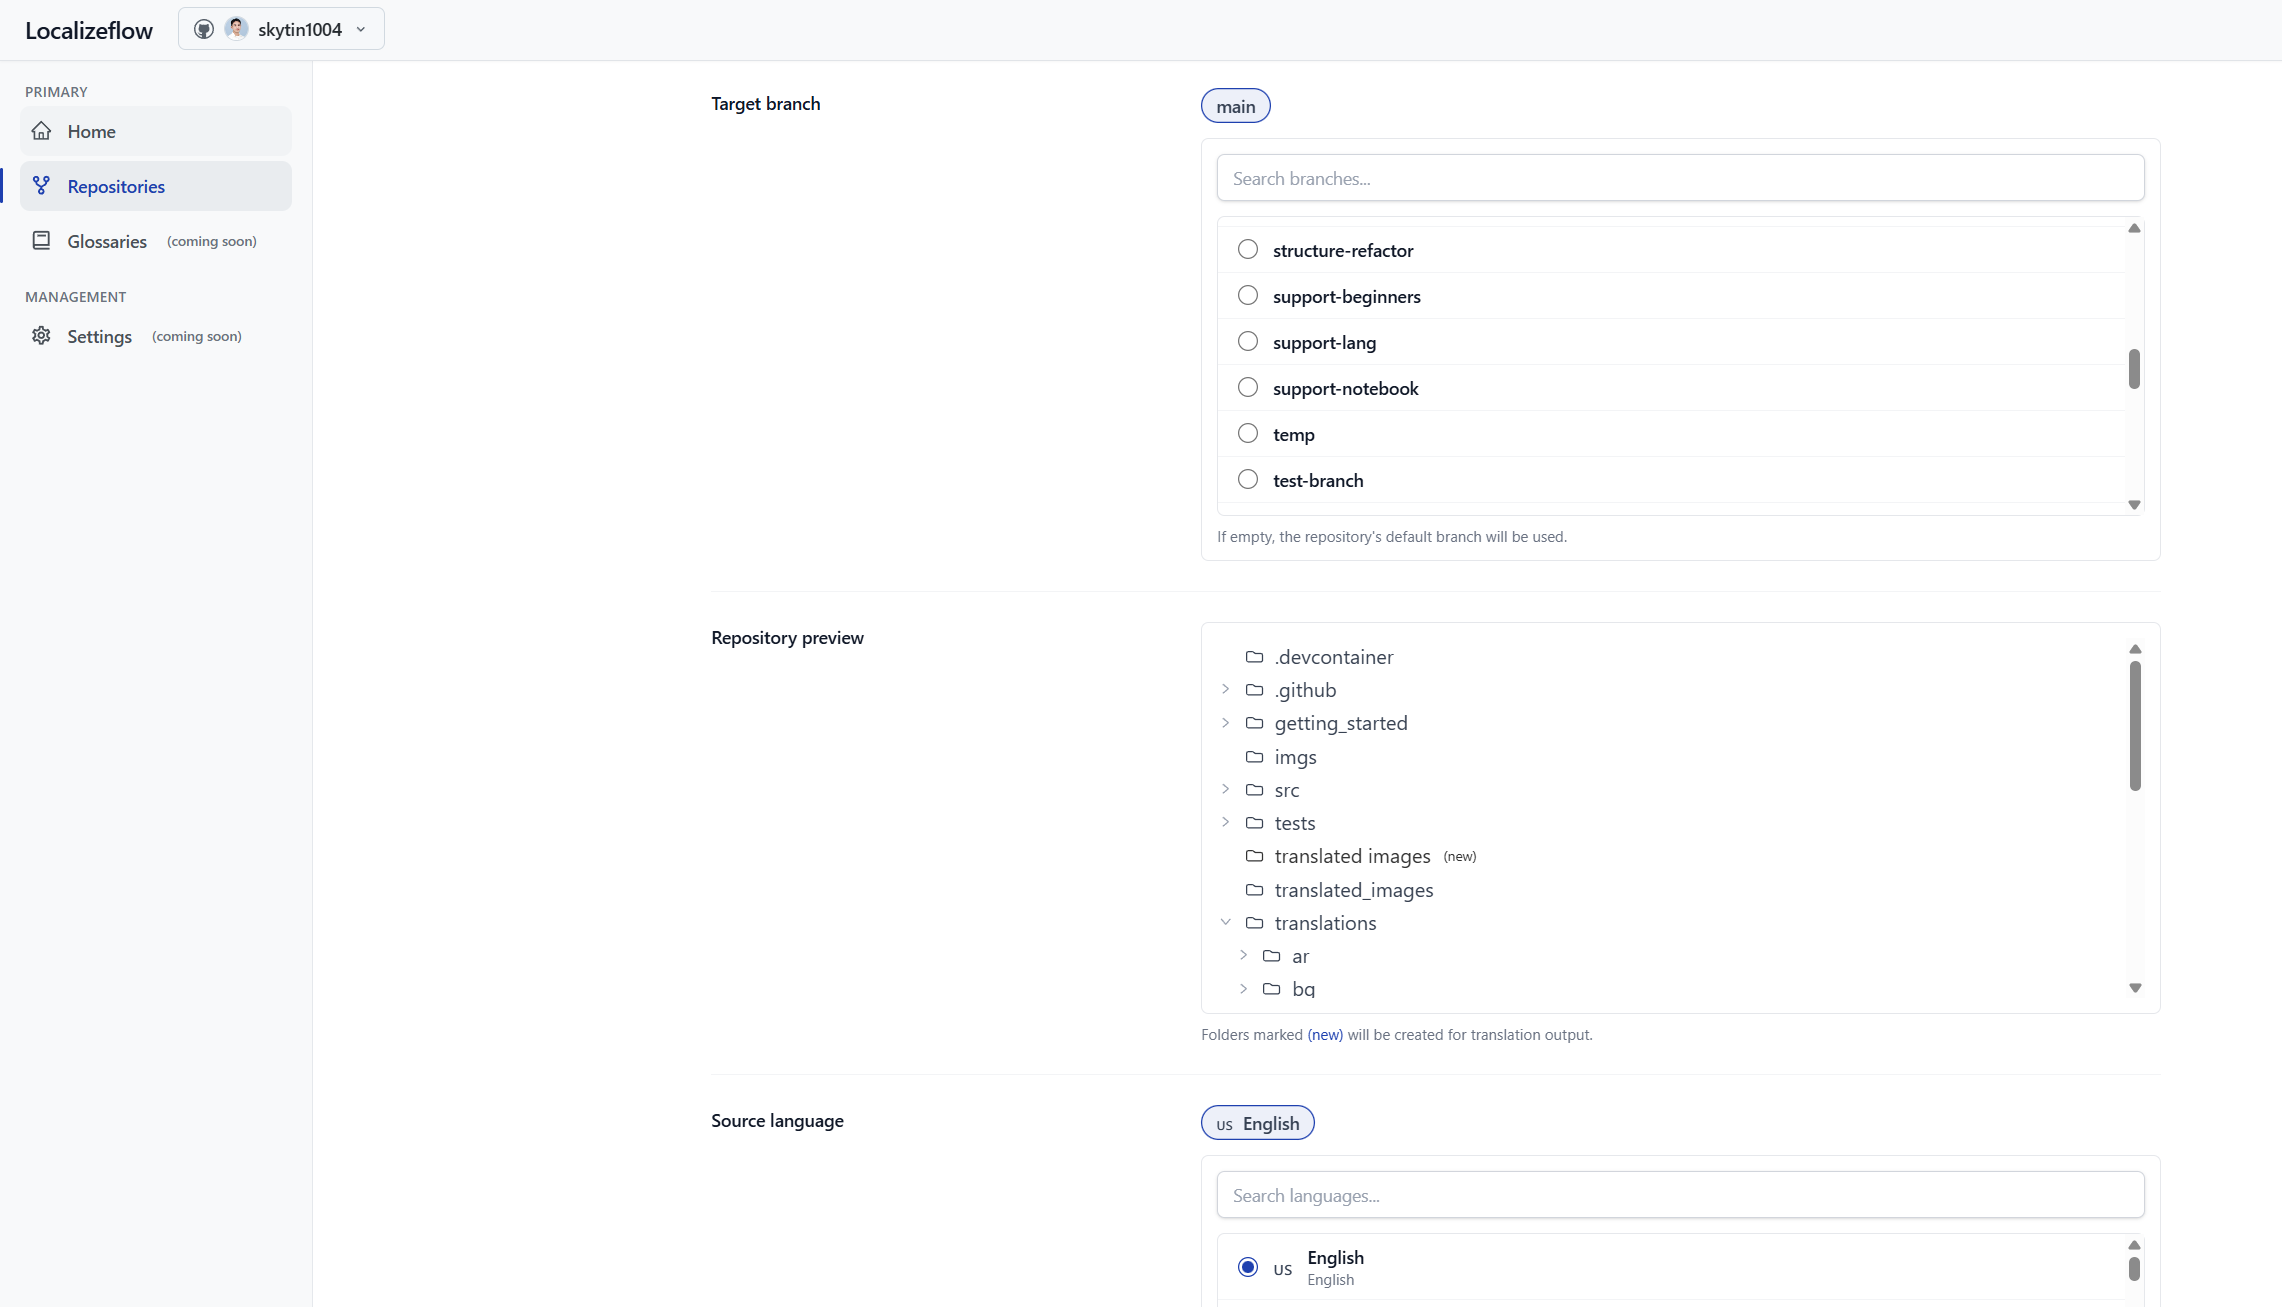
-
Configure your translation settings — target branch (default:
main), target languages, and source language (default:en). Select Save.
-
Select Start & Automate.
Localizeflow will now automatically translate your documentation and open pull requests whenever the source changes.